Tackle: Lure - Worms (Drop-shot Rig)
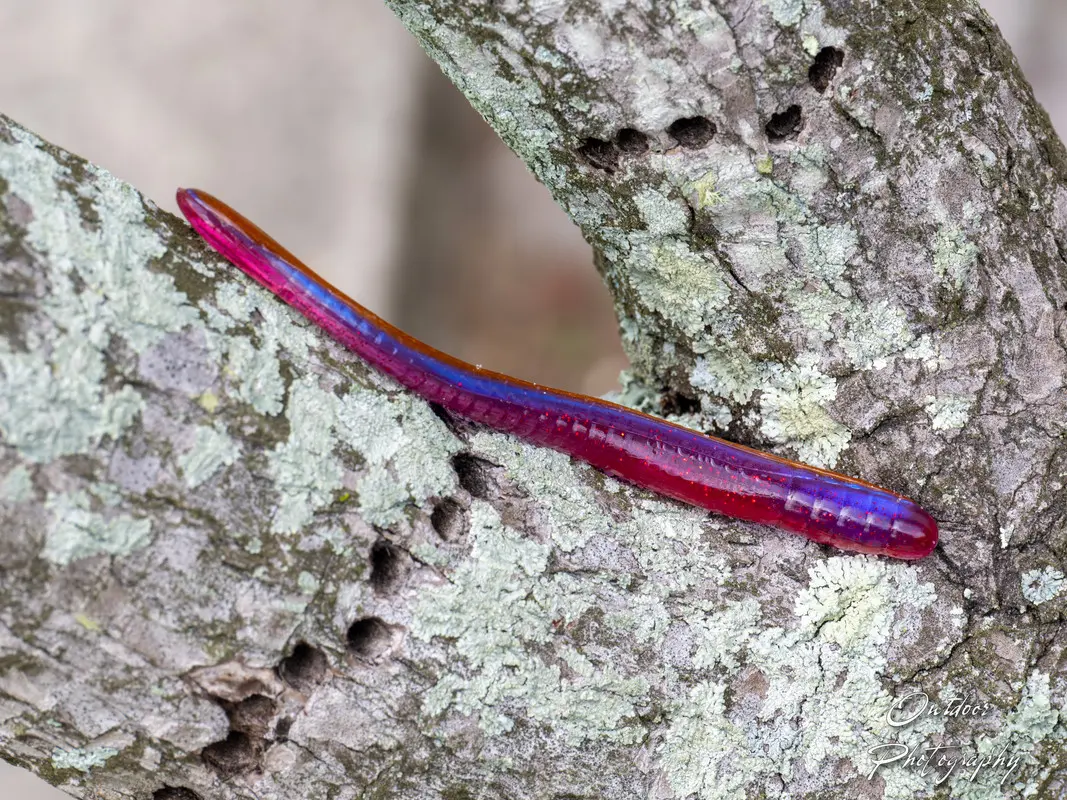
Mastering the Drop-Shot Rig: A Complete Guide to Fishing Drop-Shot Worms
Drop-shot rig fishing is one of the most effective finesse techniques for targeting finicky bass in clear water or pressured conditions. With the right setup and worm choice, it offers precise bait presentation and unmatched versatility. This article will cover when and where to use a drop-shot rig, the best rod types for various scenarios, and the best worm options. A detailed table will help you pair hook and weight selections with different worms and depths.
What Is a Drop-Shot Rig?
The drop-shot rig involves tying a hook inline on the mainline with a tag end left long enough to attach a weight. This setup keeps the worm suspended above the bottom, allowing it to move naturally and tempt even the wariest bass. It's especially effective when fish are inactive or suspended.
When and Where to Use a Drop-Shot Rig
1. Clear Water Lakes
Drop-shot rigs shine in ultra-clear lakes where bass can see everything. The subtle presentation minimizes spooking the fish.
- Conditions: High sun, calm water, visibility over 5 feet
- Rod: 6'10" - 7'2" medium-light spinning rod, fast action
- Worms: Straight-tail finesse worms like Roboworms or Zoom Finesse Worms
2. Vertical Fishing in Deep Water
In reservoirs or deep lakes, fish often suspend off the bottom. Drop-shotting vertically allows you to put the bait right in front of them.
- Conditions: Depths of 20+ feet, targeting fish on sonar
- Rod: 7' spinning rod, extra-fast action
- Worms: Small baitfish-style worms or minnow imitations (Keitech Easy Shiner, Berkley Flat Worm)
3. Tough or Pressured Conditions
When fish are inactive or post-frontal, a drop-shot can be the finesse tactic that gets bites when other rigs fail.
- Conditions: Cold fronts, tournament-pressured lakes
- Rod: 6'10" spinning rod, light-medium power
- Worms: Slim-profile worms like Strike King Dream Shot or Yamamoto Shad Shape Worm
4. Targeting Specific Structure
Use drop-shots around specific structures like rock piles, bridge pilings, or vertical grass edges.
- Conditions: Isolated cover or steep drop-offs
- Rod: 7'2" medium-light spinning rod, fast action
- Worms: Fluke-style drop-shot worms or curly tail finesse baits
Hook and Weight Matching Table
Below is a helpful chart to match hook and weight to worm type and water depth. Proper matchups ensure optimal presentation and fewer missed fish.
| Worm Type | Water Depth | Hook Type (Size) | Weight Style | Weight Size |
|---|---|---|---|---|
| Roboworm Straight Tail | 0–10 ft | Drop-shot hook (#2) | Cylindrical | 1/8 oz |
| Zoom Finesse Worm | 5–15 ft | Drop-shot hook (#1) | Teardrop | 3/16 oz |
| Berkley Flat Worm | 15–25 ft | Nose hook (1/0) | Teardrop | 1/4 oz |
| Keitech Easy Shiner (3") | 20–30 ft | Nose hook (1/0) | Cylinder | 3/8 oz |
| Missile Bomb Shot | 10–20 ft | EWG finesse (1/0) | Teardrop | 3/16 oz |
| Yamamoto Shad Shape Worm | 5–10 ft | Drop-shot hook (#2) | Cylinder | 1/8 oz |
| Zoom Fluke Stick | 10–20 ft | EWG finesse (2/0) | Teardrop | 1/4 oz |
| Strike King Dream Shot | 0–15 ft | Drop-shot hook (#1) | Pencil-style | 3/16 oz |
Drop-Shot Rig Setup Tips
- Leader Line: Use 6-10 lb fluorocarbon for stealth and abrasion resistance.
- Main Line: Braid (10-15 lb) to fluorocarbon leader for added sensitivity.
- Hook Position: Tie a Palomar knot and leave a 12"–18" tag end for the weight.
- Weight: Use cylindrical weights for rock bottoms and teardrop for sand or mud.
- Bait Action: Let the worm quiver naturally—avoid aggressive rod movement.
Bonus Tips for Drop-Shot Success
- Sight Fishing: Drop-shot is deadly when visually targeting cruising or bedding bass.
- Smallmouth Bass: This rig is a go-to for smallmouths in northern lakes—especially with minnow-profile worms.
- Casting vs. Vertical: Use lighter weights and longer casts in shallow zones; go vertical and heavy when fishing deeper structures.
| Popular YouTube Searches | Watch |
|---|---|
| How to Rig a Drop-shot Worm |  |
| Big Bass on Drop-shot Worm |  |
| Fishing a Drop-shot Worm Near Docks |  |
| Drop-shot Rig Tips and Tricks |  |
| Best Drop-shot Worms |  |
| Big Worm Big Bass |  |
The World's Most Complete Fishing Resource
We're building the ultimate fishing encyclopedia—created by anglers, for anglers. Our articles are created by real experienced fishermen, sometimes using AI-powered research. This helps us try to cover every species, technique, and fishing spot imaginable. While we strive for accuracy, fishing conditions and regulations can change, and some details may become outdated or contain unintentional inaccuracies. AI can sometimes make mistakes with specific details like local access points, parking areas, species distributions, or record sizes.
Spot something off? Whether it's an incorrect boat ramp location, wrong species information, outdated regulations, or any other error, please use the "Help Us Improve This Page" section below. Your local knowledge makes this resource better for every angler.
Explore Related Topics
Discover more articles to deepen your knowledge
Curating articles for you...
Create your own Research Page using AI
Try our AI assistant for free—sign up to access this powerful feature